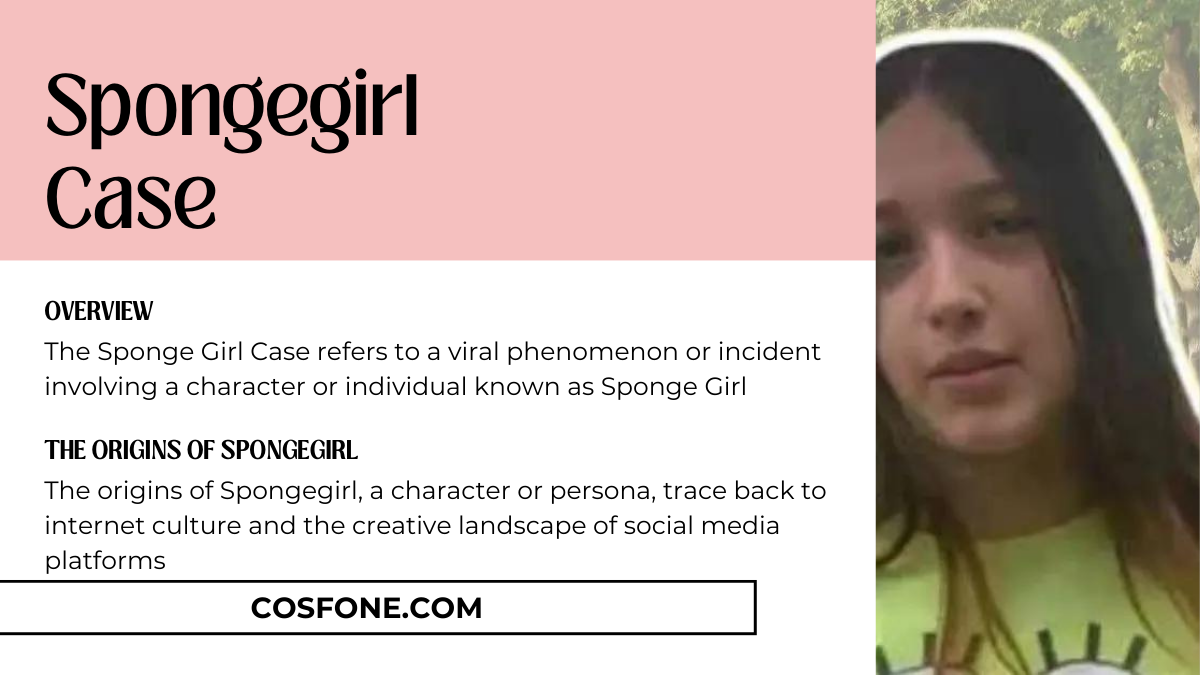
Introduction to the Spongegirl Case
Welcome to the intriguing world of the Spongegirl Case! A viral sensation that has captured the attention of millions, this mystery surrounding Spongegirl’s identity has left internet sleuths scratching their heads. Join us as we dive deep into the origins of Spongegirl, unraveling clues, exploring possible suspects and motives, and ultimately aiming to solve this captivating enigma. Get ready for a thrilling ride as we embark on a quest to uncover the truth behind one of the most talked-about mysteries in cyberspace!
The Origins of Spongegirl
In the vast ocean of the internet, a quirky character known as Spongegirl emerged, captivating audiences worldwide with her whimsical charm. The origins of Spongegirl trace back to a talented artist who first brought her to life through colorful illustrations and witty captions.
Her endearing personality quickly resonated with online users, leading to a viral sensation that spread like wildfire across social media platforms. Fans were drawn to Spongegirl’s relatable humor and infectious positivity, making her an instant hit among both young and old alike.
As Spongegirl’s popularity soared, speculation surrounding her true identity began to swirl. Was she based on a real person or purely a figment of imagination? The mystery only added to her allure, sparking curiosity and intrigue among eager followers.
Despite the enigma shrouding Spongegirl’s creation, one thing remained clear – she had become an internet phenomenon unlike any other. Her legacy continues to thrive in the digital realm, spreading joy and laughter wherever she goes.
The Viral Sensation
The Spongegirl phenomenon took the internet by storm, captivating audiences worldwide with her quirky videos and infectious energy. Her unique blend of humor and relatability resonated with viewers of all ages, sparking a viral sensation unlike anything seen before.
From her humble beginnings as a small-town girl with big dreams to her sudden rise to fame on social media platforms, Spongegirl’s journey was nothing short of extraordinary. Fans couldn’t get enough of her witty one-liners and spontaneous dance routines that seemed to transcend language barriers.
As Spongegirl’s popularity grew, so did the mystery surrounding her true identity. Speculations ran rampant online, with fans eagerly piecing together clues in hopes of uncovering the person behind the iconic character. Was she an aspiring comedian hiding in plain sight? A marketing genius orchestrating a carefully crafted persona? The possibilities were endless.
Despite numerous theories circulating on forums and social media threads, the enigma of Spongegirl remained unsolved. As eager sleuths continued their quest for answers, one thing was certain – the impact of this viral sensation would forever leave its mark on pop culture history.
The Mystery Surrounding Spongegirl’s Identity
The enigma surrounding Spongegirl’s identity has captivated the internet, sparking endless debates and theories. Who is she? Where did she come from? These questions linger in the minds of her fans and followers, adding to the allure of this viral sensation.
Some believe Spongegirl is a regular person catapulted into fame by chance, while others speculate that she might be a well-known figure incognito. The mystery deepens as more clues surface, leading to further confusion and intrigue among online sleuths.
Her distinctive voice and mannerisms have been scrutinized for any hints or giveaways about her true persona. Yet, despite all efforts to unmask her, Spongegirl remains an enigma shrouded in secrecy.
As the speculation continues to swirl around her identity, one thing remains certain – Spongegirl’s mystique only adds to her appeal and ensures that the fascination with solving this mystery will endure for some time to come.
YOU MAY LIKE: Why MP3 Juice Download is the Perfect Tool for Music Lovers
Clues and Speculations
The Spongegirl Case has generated a whirlwind of speculation and theories surrounding the identity of the mysterious viral sensation. Online sleuths have been combing through every clue, analyzing every detail for any hint that could lead to uncovering who is behind the iconic character.
Some believe that Spongegirl’s origins lie in an underground art collective, while others suspect a well-known artist might be pulling the strings behind the scenes. The distinctive style and quirky humor fuel further speculations about possible motives and inspirations behind Spongegirl’s creation.
Cryptic messages hidden in videos, obscure references scattered throughout social media posts – each clue adds another layer to this enigmatic puzzle. As armchair detectives dissect every frame and pixel, new theories emerge, expanding the web of intrigue around Spongegirl.
Who holds the key to unlocking this mystery? Only time will tell as we continue our quest for answers in this captivating investigation.
Possible Suspects and Motives
As the investigation into the Spongegirl Case deepens, various suspects have emerged with potential motives for creating the viral sensation. One possible suspect could be a disgruntled former employee of a popular animation studio seeking revenge for being let go. Their motive may stem from a desire to expose alleged mistreatment within the industry through an unconventional medium.
Another theory suggests that an underground artist looking to make a statement about society’s obsession with social media fame might be behind Spongegirl’s creation. This individual’s motive could revolve around critiquing the superficiality of online personas and their impact on real-life interactions.
Alternatively, some speculate that Spongegirl could be part of a guerrilla marketing campaign orchestrated by a savvy brand or company aiming to generate buzz and intrigue among internet users. The motive in this scenario would be purely commercial, leveraging shock value to capture attention and drive engagement.
The range of possible suspects and motives in this case is vast, leaving investigators with a challenging task ahead as they piece together clues and unravel the mystery surrounding Spongegirl’s origins.
Solving the Case: Uncovering the Truth
The time had come to peel back the layers of mystery shrouding Spongegirl. With a team of dedicated investigators combing through digital footprints and eyewitness accounts, every lead was followed meticulously. The truth seemed like a distant mirage, but they pressed on, fueled by determination.
Piecing together fragmented clues brought them closer to unveiling the enigmatic persona behind Spongegirl. The suspects list dwindled as alibis were verified and motives dissected with precision. A breakthrough moment created ripples of excitement within the investigative unit.
As pieces of the puzzle fell into place, it became evident that the truth was stranger than fiction. Uncovering the identity of Spongegirl sent shockwaves through cyberspace and left netizens in awe. The veil lifted, revealing a story that captivated minds across borders.
The exhaustive journey to solve the case shed light on hidden truths and showcased the power of collective effort in unraveling mysteries that defy logic.
READ MORE: liveamoment.org: Your Path to Mindful Living Starts Here
Impact and Aftermath of the Investigation
The impact of the Spongegirl case investigation reverberated throughout social media, captivating audiences worldwide. As the mystery unfolded, discussions and theories flooded online platforms, sparking curiosity and intrigue among netizens. The sudden surge in interest not only boosted engagement but also shed light on the power of viral sensations in today’s digital age.
After the investigation concluded, a sense of closure swept over followers who had been eagerly following every twist and turn of the perplexing case. While some were satisfied with the outcome, others found themselves grappling with unanswered questions and lingering uncertainties surrounding Spongegirl’s true identity.
The aftermath of the investigation left a lasting impression on both supporters and Skeptics alike. It served as a reminder of our collective fascination with internet mysteries. And our insatiable appetite for uncovering the truth behind enigmatic figures that capture our imagination.
Conclusion
As we come to the end of this intriguing journey into the Spongegirl Case. One thing is certain – mysteries have a way of captivating our imagination and fueling our curiosity. The quest for truth can lead us down unexpected paths. Uncovering hidden secrets and shedding light on the unknown.
In every investigation, there are twists and turns that keep us on the edge of our seats, eager to unravel the enigma at hand. The thrill of discovering new clues and piecing together fragments of information is what makes delving into a mystery so exhilarating.
While we may not have all the answers in this case, one thing is clear. It’s not always about finding closure but rather embracing the thrill of the chase. The journey itself can be just as rewarding as reaching a definitive conclusion.
So let us continue to explore new mysteries, embrace uncertainty. And revel in the excitement of unraveling secrets yet to be discovered. After all, life is full of unanswered questions waiting to be explored.
FAQs
1. Who is Spongegirl?
Spongegirl is a viral sensation who gained popularity on social media platforms for her unique content and mysterious identity.
2. What are the origins of Spongegirl?
The origins of Spongegirl remain shrouded in mystery. With speculations ranging from a marketing stunt to an art project gone viral.
3. How did Spongegirl become a viral sensation?
Spongegirl’s quirky videos and enigmatic persona captured the attention of internet users, leading to widespread sharing and speculation about her true identity.
4. What clues have emerged regarding Spongegirl’s identity?
Various clues, such as location tags in her videos and similarities to known personalities, have fueled theories about who Spongegirl might be.
5. Who are the possible suspects behind Spongegirl’s persona?
Numerous individuals have been speculated to be behind the mask of Spongegirl, but none have been definitively proven as the true creator.
6. What motives could someone have for creating Spongegirl?
Possible motives include seeking fame or attention, conducting a social experiment, or simply enjoying anonymity while producing creative content.
7. How can we solve the mystery of Spongegirl’s identity?
By carefully analyzing all available clues and conducting thorough investigations into potential leads. It may be possible to uncover the truth behind Spongegirl’s persona.
8. What impact has the investigation had on those involved?
The investigation into Spongegirl has sparked curiosity among internet users and generated discussions about online anonymity and authenticity in digital culture.
9. Will we ever know who Spongegirl truly is?
While there is no guarantee that the mystery of Spongegirl will ever be solved conclusively unless she decides revealed herself publicly,
10.What lessons can we learn from the sponge girl case ?
The sponge girl case teaches us valuable lessons about online privacy. The power of viral content ,and our fascination with mysteries.
FOR FURTHER INFORMATION VISIT:http://cosfone.com


 ” Using Git well is hard: it’s so easy to make a mistake and then try to make up for it, it’s just too hard. Going through the Git documentation is a chicken-and-egg problem, you have to know what you want What , but if I knew, I’d be looking up a fucking doc! “